
A storm-damaged roof rewards order. Tarps appear on neighboring roofs, adjusters' calendars fill up, and the homeowners who recover fastest are simply the ones with a plan. Here is that plan — seven practical steps written for homeowners in Lawrenceville, GA, United States.
Why Storm Damage Demands a Fast Response
Georgia weather rarely issues polite warnings. A single afternoon storm cell can drop hail, wind gusts above 60 mph, and inches of rain on Lawrenceville in under an hour — and the damage left behind is often invisible from the driveway.
A lifted shingle edge, a cracked seal strip, or a small hail bruise may not leak for weeks. By the time a ceiling stain finally appears, moisture has usually soaked the underlayment and swollen the decking hidden beneath it.
Acting quickly matters for two reasons. Structurally, small compromises compound: one lifted shingle lets wind-driven rain in, and wind-driven rain turns into interior leaks. Financially, most homeowner insurance policies expect claims within a reasonable window after the loss, so waiting months can quietly weaken your position.
Step 1: Stay Safe & Document the Damage
The most valuable thing you can do after a storm is also the safest: walk the property with your phone camera and let the evidence do the talking.
- Stay on the ground. Wet shingles, hidden structural damage, and downed power lines make DIY climbing dangerous.
- Photograph the roof from all four sides, plus close-ups of anything lifted, cracked, or missing.
- Shoot the yard too — dented gutters, downspouts, mailboxes, siding, and window screens are classic hail indicators adjusters look for.
- Record short video pans and note the storm's date and approximate time.
- Keep receipts for any storm-related expense: tarps, buckets, even a hotel night if a bedroom is unusable.
This folder of evidence becomes the backbone of both your insurance claim and your roofer's inspection report.
Step 2: Book a Professional Roof Inspection
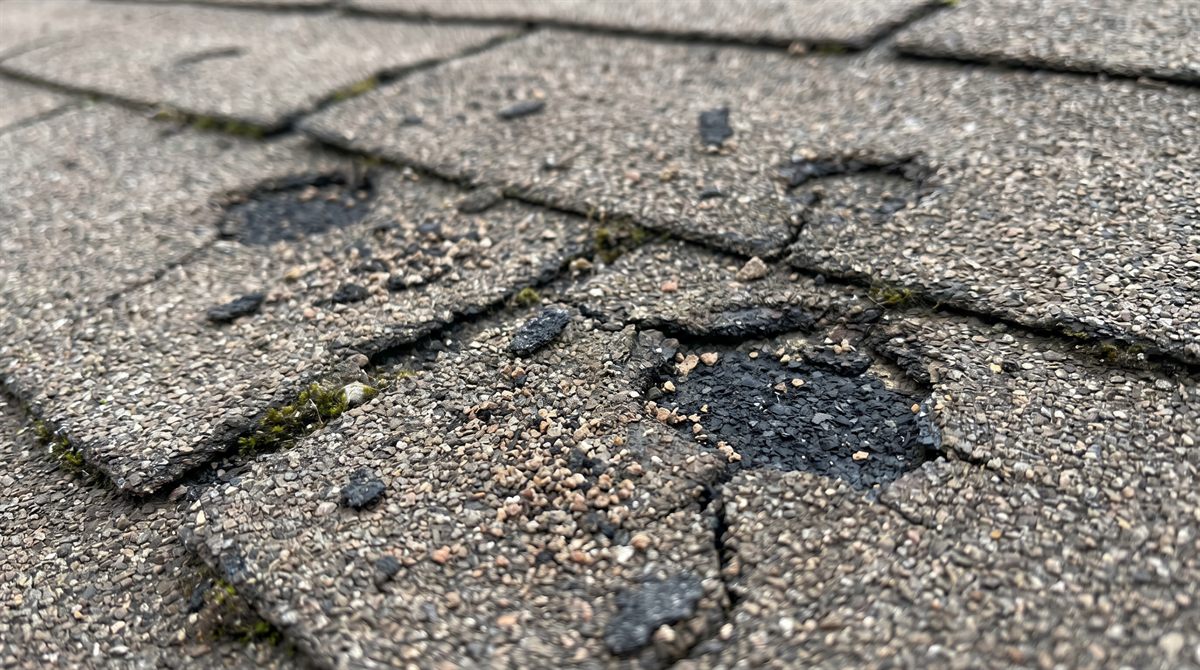
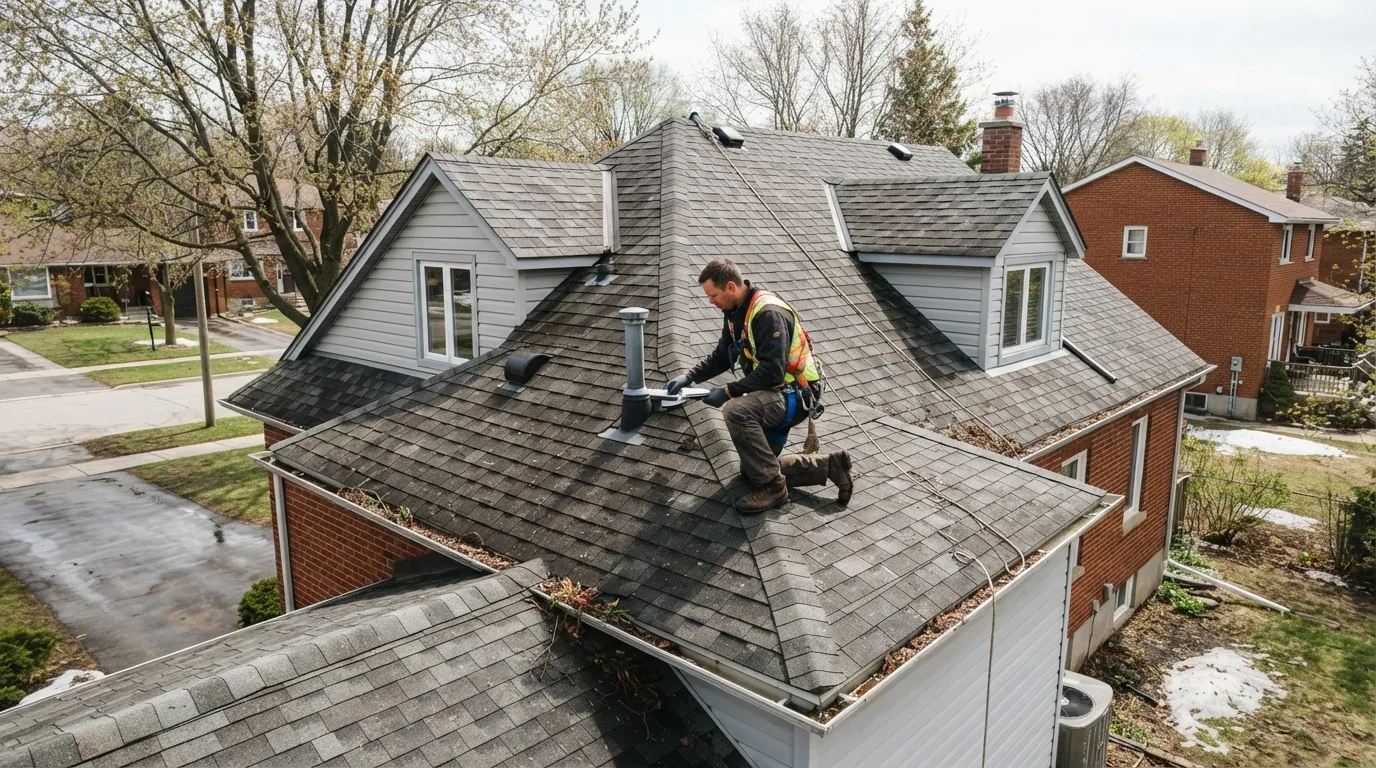
A trained eye reads a storm's story in minutes. A thorough post-storm inspection typically covers:
- Shingle creases, cracks, and missing tabs
- Hail bruises and granule loss exposing the mat
- Compromised seal strips and lifted edges
- Flashing around chimneys, vents, skylights, and valleys
- Dented vents and piles of granules washing into gutters
- An attic check for decking stains and pinpoints of daylight
The report usually includes photos and a written scope of work — exactly what an insurance adjuster wants to see. Schedule one even if you're unsure whether you'll file a claim; the report tells you whether there's anything to claim in the first place.
Step 3: File Your Insurance Claim the Right Way
With documentation in hand, the claim process becomes far less mysterious:
- Review your policy first, so you understand your wind/hail deductible and coverage limits before you call.
- Report the loss promptly and get your claim number in writing.
- Schedule the adjuster's visit — and invite your roofer to meet them on the roof.
- Compare scopes. If the adjuster misses damage your roofer documented, request a supplement; it's a normal part of the process.
Step 4: Emergency Protection & Temporary Repairs
If water is actively coming in, your goal is to slow the damage until permanent repairs can happen:
- Move furniture and electronics out of the path; catch drips with buckets.
- Puncture bulging ceiling spots so water drains into a bucket instead of spreading across drywall.
- Ask your contractor about emergency tarping and interior dry-out — both are usually reimbursable claim expenses, which is why those Step 1 receipts matter.
Remember: temporary fixes are exactly that. A tarp buys days, not seasons.
Step 5: Choose the Right Roofing Company in Lawrenceville
After a big storm, out-of-town crews follow the headlines; local companies follow their reputation. When you vet a roofing comapny through its Google Business Profile, look for real local projects, photos from actual jobsites, and honest answers to plain questions.
- A physical address and a track record of work in Gwinnett County
- Current Georgia residential contractor licensing and insurance
- Written, line-item estimates — never a vague one-line quote
- Clear workmanship warranties and manufacturer-backed product options
- A willingness to meet your adjuster on the roof
A reputable roofing company will never pressure you to sign before the adjuster visits, and will explain every line of the estimate in plain English.
Step 6: Repair vs. Full Roof Installation
Not every storm-damaged roof needs replacement — and not every "quick fix" saves money long-term. The right call comes down to evidence, not pressure.
🔧 The Repair Route
- Damage isolated to one ridge or slope
- Surrounding shingles relatively new, with matches available
- No widespread hail bruising across slopes
- Attic shows no pattern of moisture
🏠 The Replacement Route
- Hail bruising spread across multiple slopes
- Shingles near or past their service life
- Discontinued shingles that can't be matched
- Insurance has totaled the roof's remaining value
If replacement lands on the table, educate yourself before signing anything: this Roof Installation guide walks through materials, timelines, and what to expect on install day. When you're ready to scope the project locally, Safe Haven Roofing and Construction's roof installation services can turn your claim scope into a concrete schedule. Ask about Class 4 impact-resistant shingles too — many Georgia insurers discount premiums for them.
Step 7: Final Walkthrough & Storm-Ready Maintenance
The last day of the project matters as much as the first. Walk the roof and yard with your contractor, confirm flashing and ridge vents are sealed, and make sure nails and debris were magnet-swept from the lawn. Then keep the roof storm-ready:
- Visual checks from the ground each spring and after every major storm
- Gutters kept clear so water and granules flow freely
- Overhanging branches trimmed before they become projectiles
- Attic ventilation and insulation balanced so shingles don't cook from beneath
- Insurance, warranty documents, and storm photos stored in one folder
Key Takeaways for Homeowners
- Document from the ground within 48 hours of any storm.
- Book a professional inspection before filing your claim.
- Meet the adjuster with your roofer at your side.
- Vet local reputation over storm-chaser promises.
- Choose repair or replacement based on evidence, not pressure.
- Maintain the roof so the next storm meets a ready target.
A storm-damaged roof is not a crisis; it's a project with a sequence — document, inspect, claim, protect, choose, repair, maintain. Follow that order and each step stays small. And when you reach the hands-on part, a local Lawrenceville team like Safe Haven Roofing and Construction can carry the heavy lift, from the first inspection photo to the last ridge-cap nail.